JR's Build Project

JayR

XS650 Addict
Messages
335
Reaction score
118
Points
43
Location
CT
This is really a teardown update at this point, but I've been slowly working on the 1982 Heritage Special with 18k miles that I picked up in April. Hopefully in another 6 months I'll be ready and registered for the spring!

Now that the tear "down" phase is just about complete, I'm starting to get organized for the build up - tracker format if I had to call it something.

I was lucky (so far), the bike didn't start when I got it, but with some TLC and hefty guidance from you all it turns out that the engine is a strong runner - so no immediate engine tear down plans.

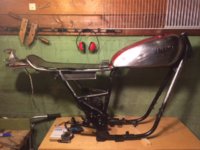
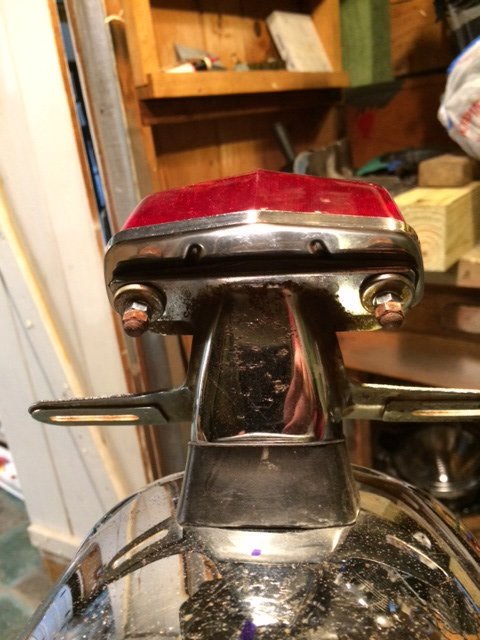
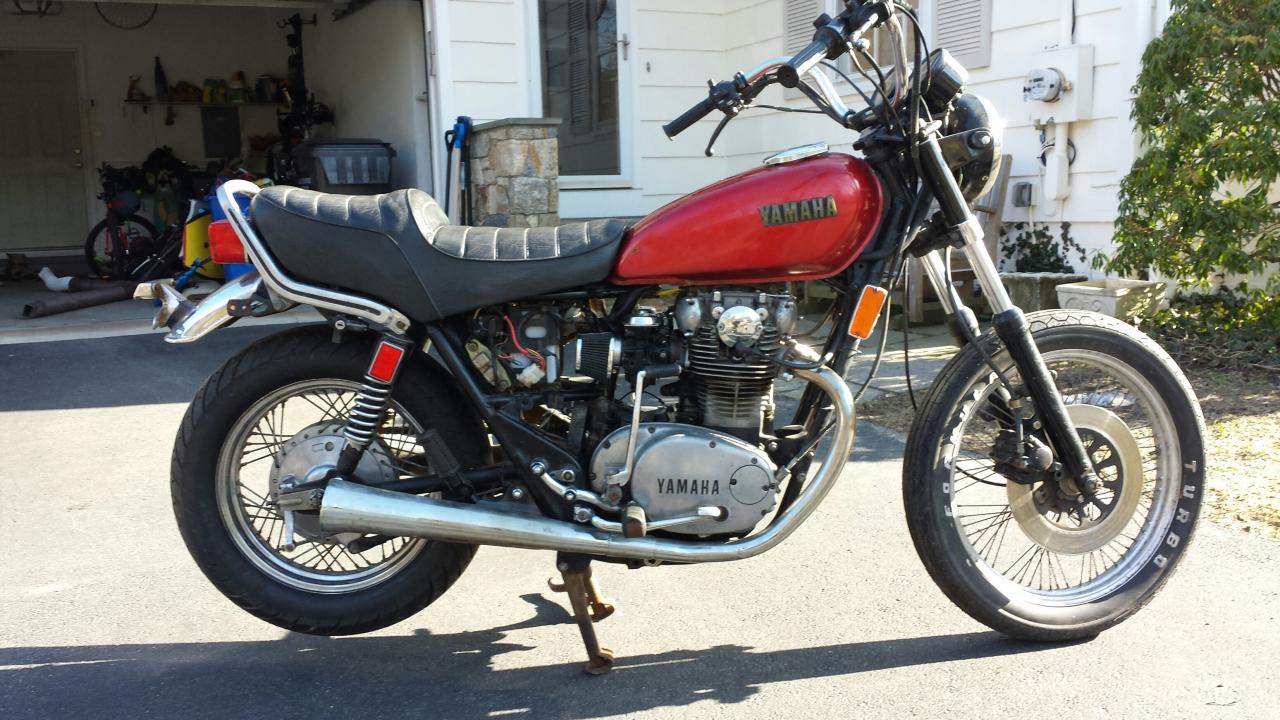
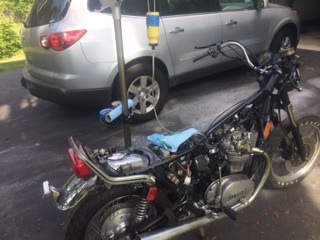
This is how I found her:

full


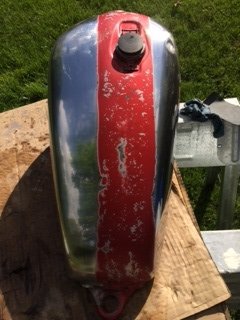
Derustify tank with electrolysis - worked well

full


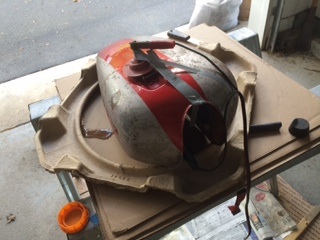
Left a red stripe on the tank, going with it for now. The PO mixed up tanks (red)

full


Carbs cleaned, cam adjustments, relay and starter troubleshooting, and riddle solving from PO, and it turns out the engine runs strong. Set the mix screws at 3.5 turns out and set the Idle at 1000 RPM. Did the Palm test from DogBunny's carb tuning write up and the exhaust is blowing equally strong from each tail pipe.

cam chain tensioner and recommended action +/- 1mm

full


Newbie mistake I made: used a temporary fuel supply and forgot to plug the vacuum barb. I cranked the crap out of it until I realized my mistake. Once I capped it off with a wire nut she turned over fine. The starter even became less noisy - must have reset itself after a long hibernation.

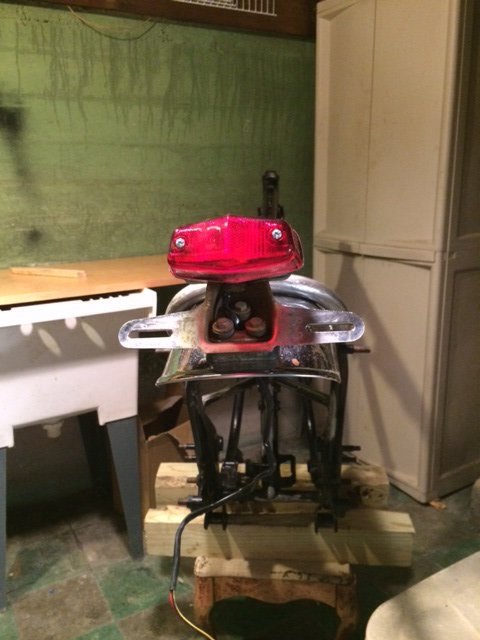
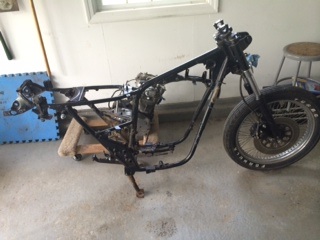
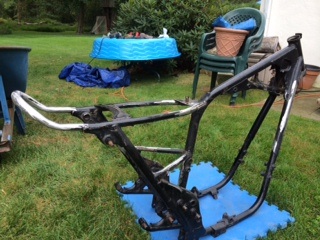
All parts off, yanked the engine solo, my boy helped me carry it to the shop

full


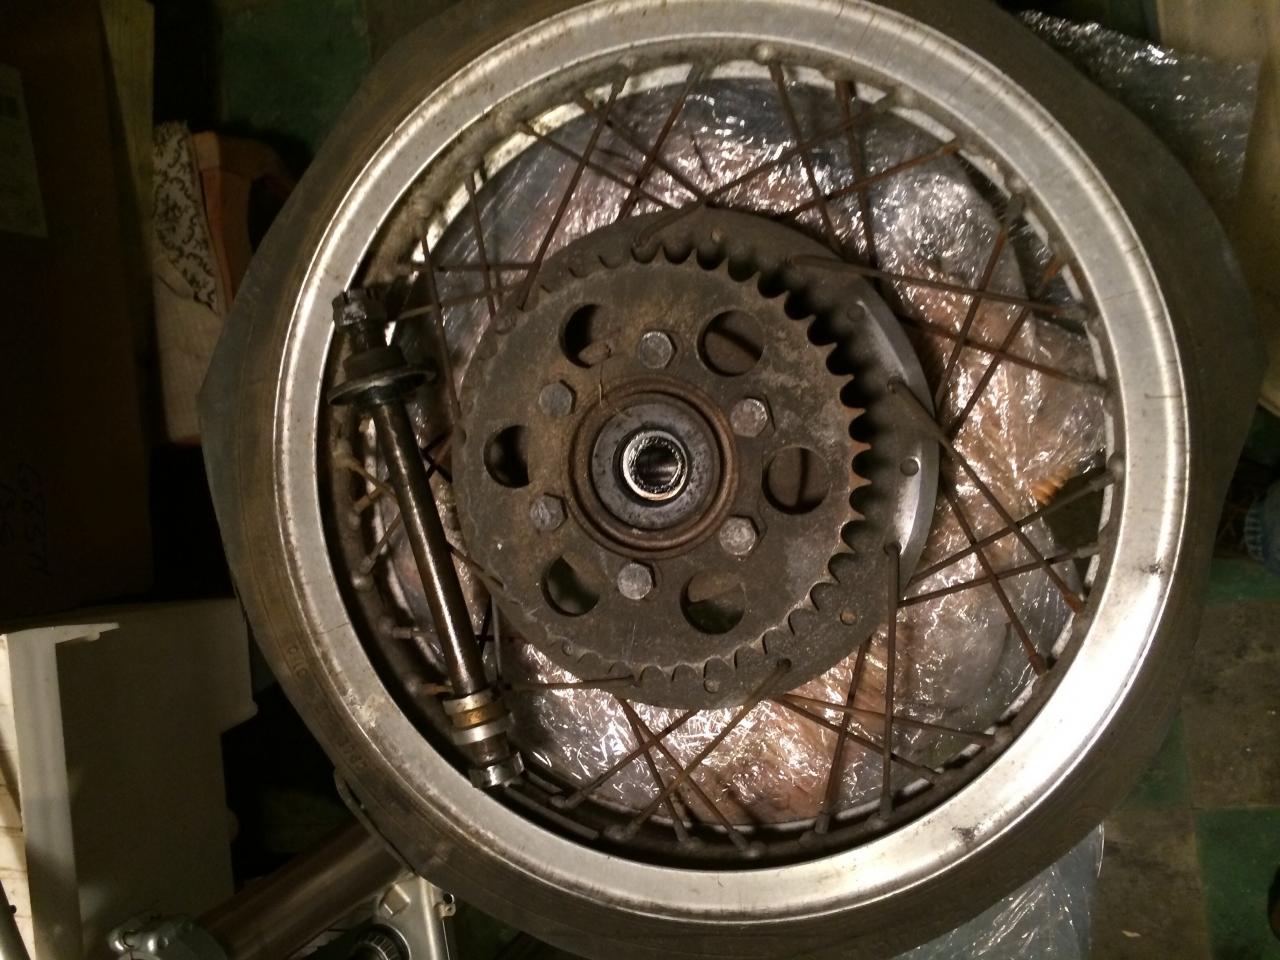
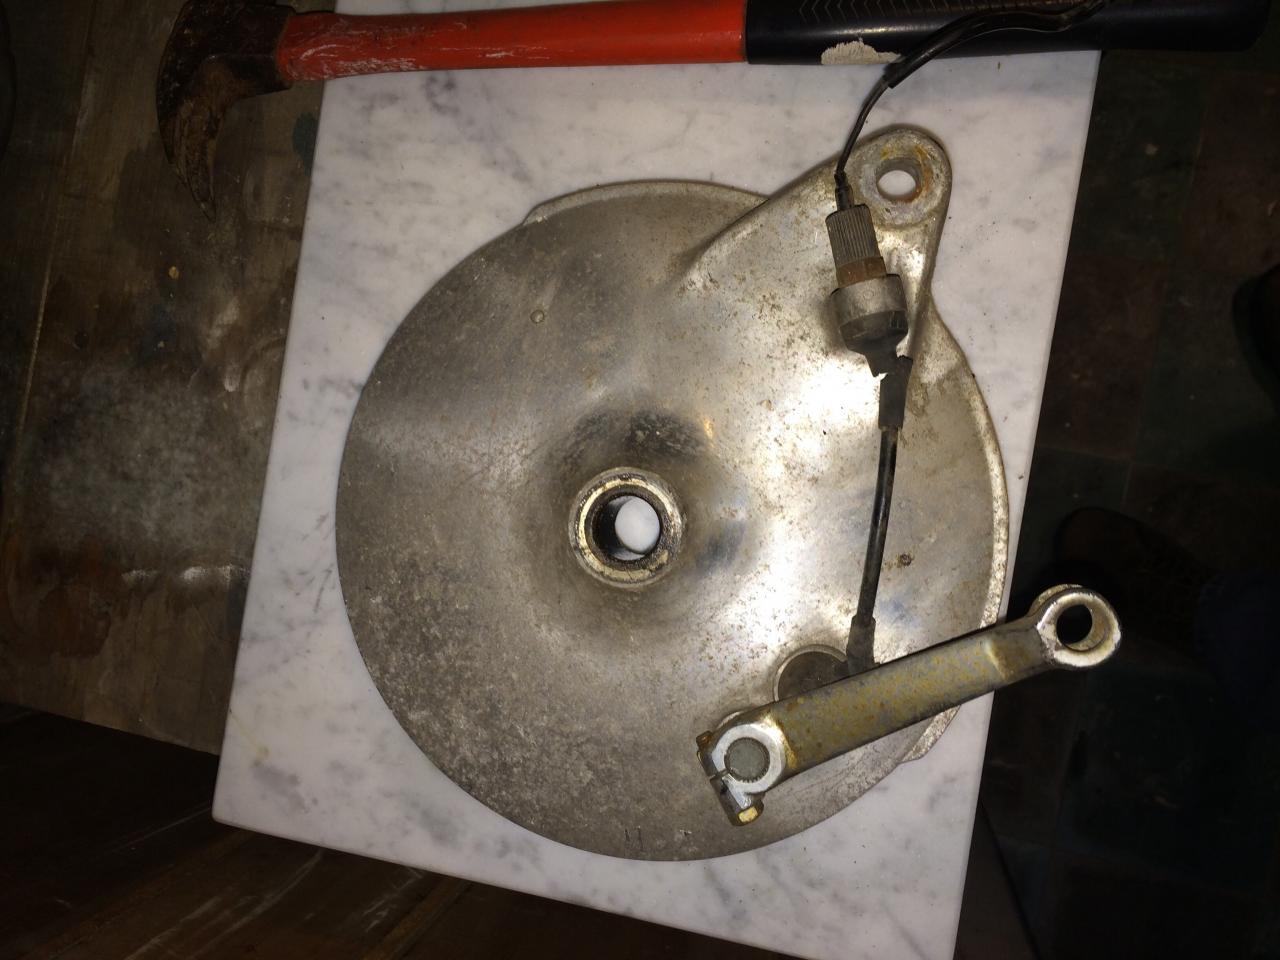
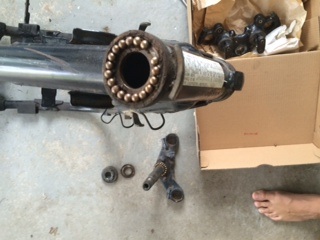
Hey where'd that ball bearing go? Note: footwear is not OSHA compliant.

full


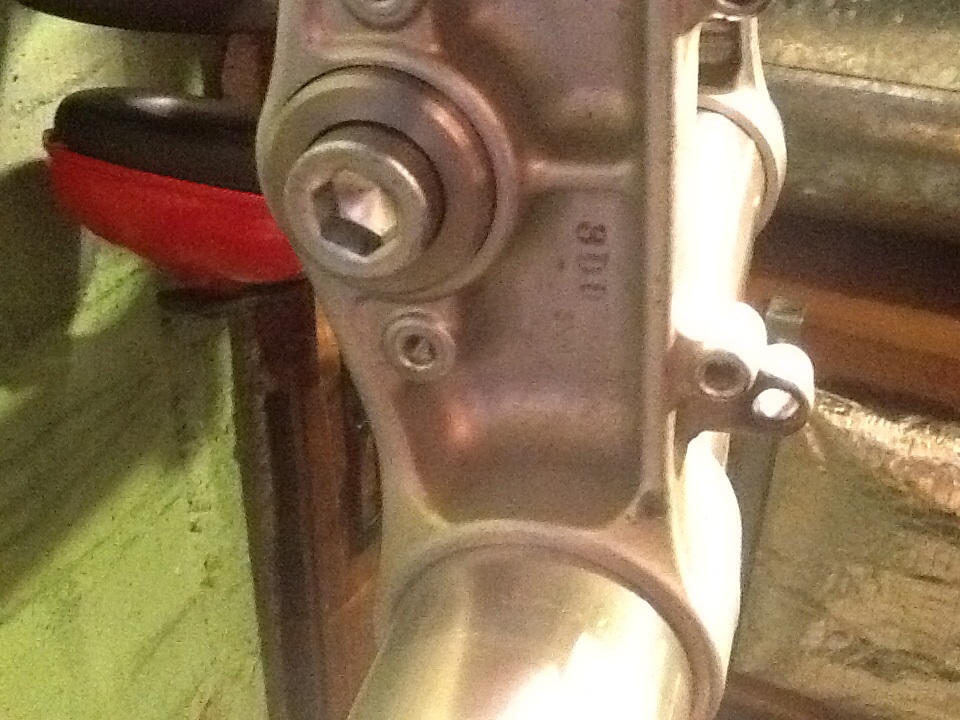
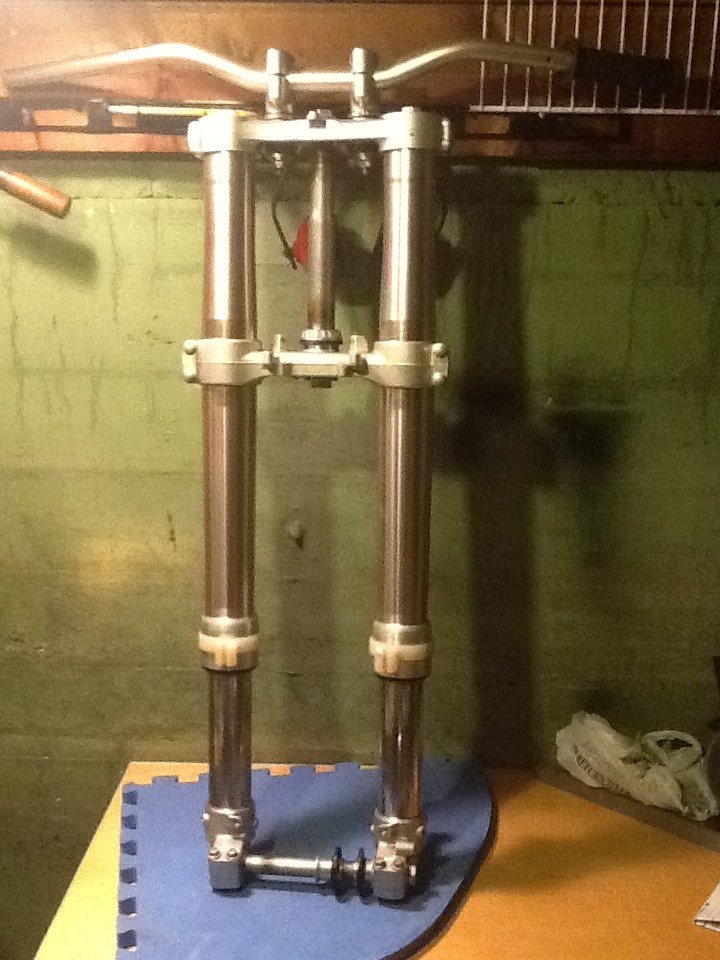
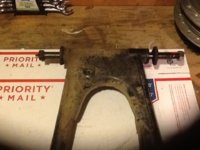
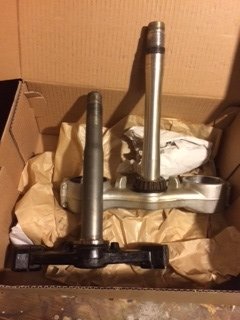
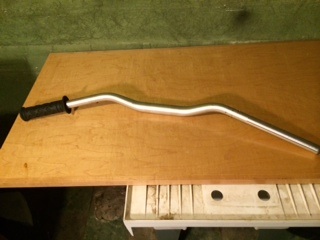
Modifying the triple trees so I can run Suzuki RMZ forks up front - looking forward to that

full


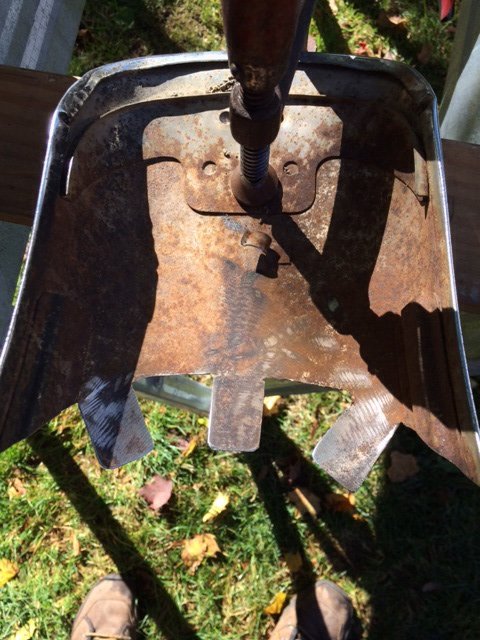
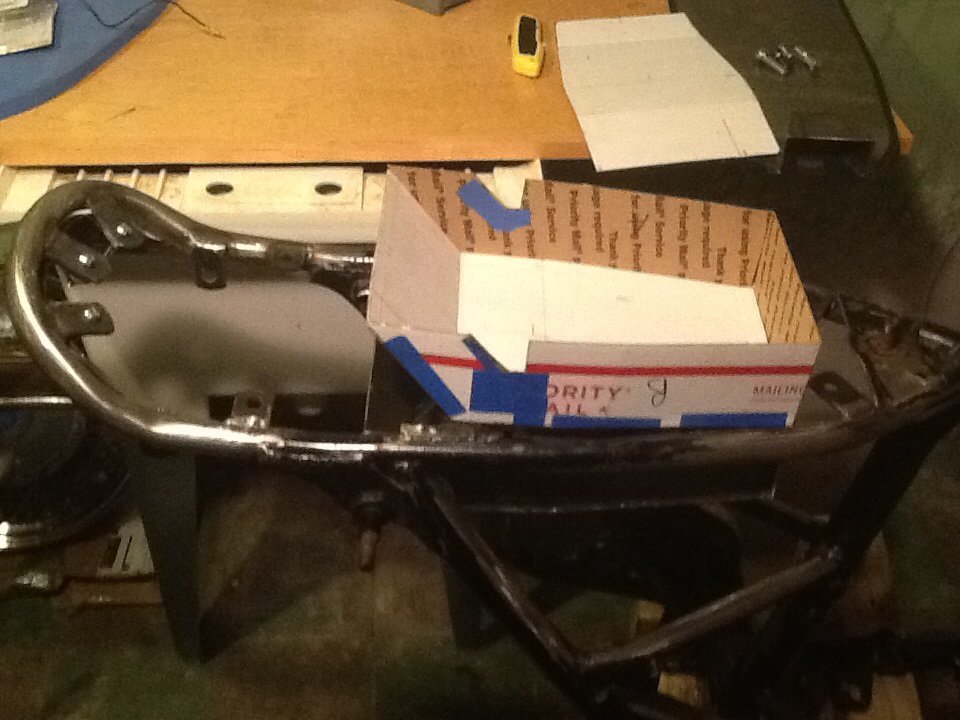
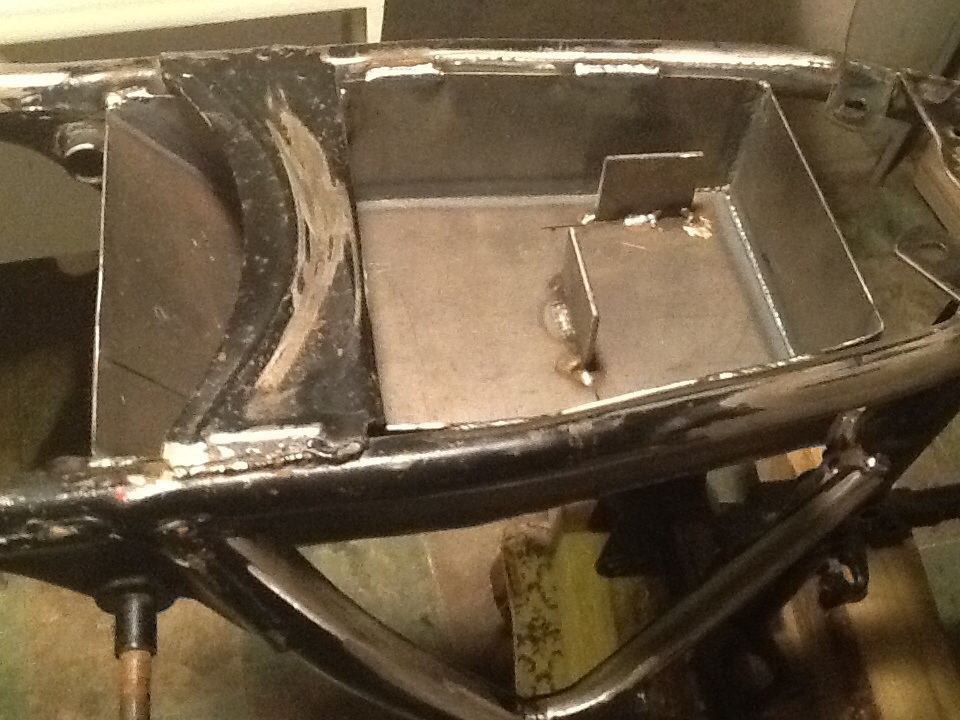
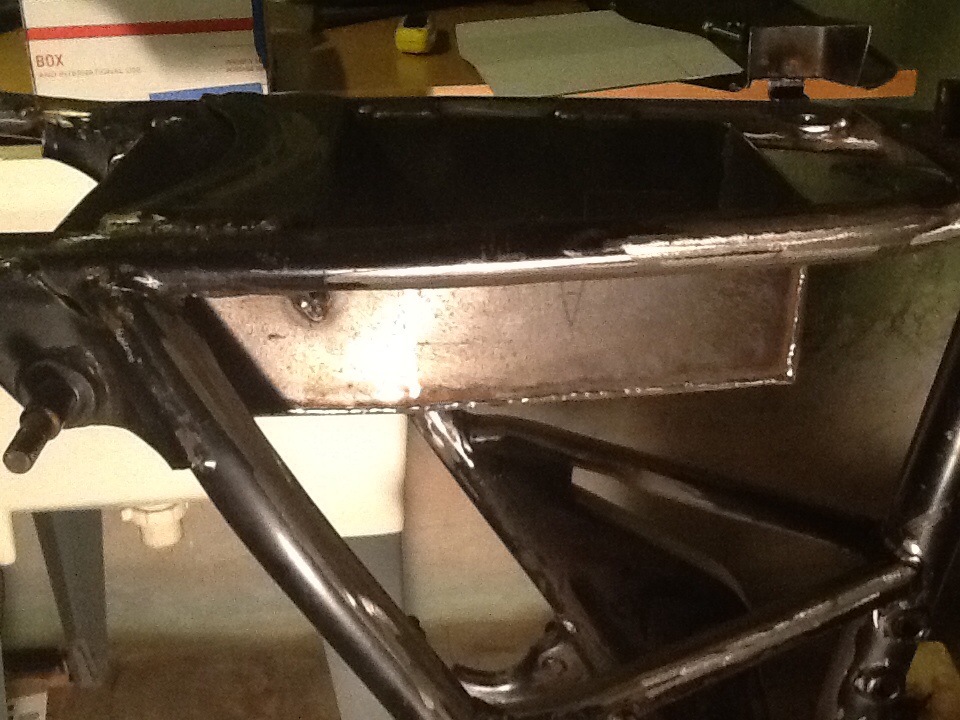
On hindsight I would have switched to the flap disc earlier on the frame de-tabbing but worked out OK

full


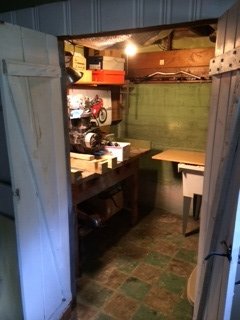
The workshop - hideout.

full


Handlebars from a 2007 Ducati Monster S4R Comparo will fit the RMZ risers just right

full


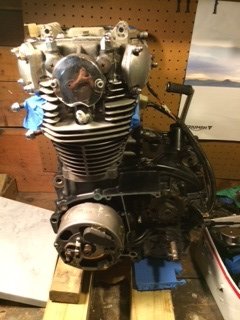
1982 heritage Special motor. The black paint is mostly worn off but still evident. Earlier model replacement alternator from PO - grease pencil markings.

full


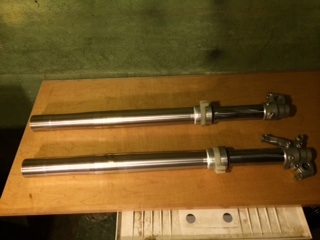
Cut down travel on RMZ 250 forks from 11.8 to 5.8 inches. Reduced spring rate to 0.65 for a 450 pound bike and 200lb rider.

full
 
Those forks are going to be sweet. Will you basically cut and replace the steering stem onto the triple clamps or what?
 
Those forks are going to be sweet. Will you basically cut and replace the steering stem onto the triple clamps or what?

Hey Van, yeah that front end swap is what got me going on the whole project. You have it about right. I believe the process is grinding out the XS650 stem from the lower XS triple tree clamp, do the same to the RM stem/clamp, then fit and weld up the XS stem into the RM lower triple tree clamp. So using the XS stem with the RM upper and lower tree clamps. I'm having a machinist do it up, unfortunately a little too much for me to do competently/safely. :bike:
 
Hi just a few updates on my slow burn build. Made some good progress and almost ready to get the frame bead blasted and ready for powder coating.

I Mocked up the electronics pan with the help of some cardboard from the USPS:
full


Steve Fedun from SFJ MetalWorx fabricated the box and helped me out with welding a few tabs etc. if you're in CT his contact info is stevejf1r@aol.com 203-954-9607. Good guy.
full


full


This is the stock fender cut down to size. The 3 tab mounts actually have longer loose tabs underneath that bite into the fender under the rear loop. The idea is to alleviate the vibration and metal stress from the thinner fender material so it doesn't vibrate off. I hope. I'll be using lots of rubber washers etc. if your interested ill post pics from underneath. The other tabs are for the rear turn signals and the seat pan.
full
 
Great ideas... On the steering stem it may not be as simple as welding the XS one into the RMZ lower. I believe the RMZ is aluminum and the XS stem is steel. For my XS360 I was able to heat the bottom of the steel stem and put a solid slug into the end to expand it perfectly to a press fit on a similar lower triple. Just an idea.
 
Great ideas... On the steering stem it may not be as simple as welding the XS one into the RMZ lower. I believe the RMZ is aluminum and the XS stem is steel. For my XS360 I was able to heat the bottom of the steel stem and put a solid slug into the end to expand it perfectly to a press fit on a similar lower triple. Just an idea.

Norman, Love the XS 360, sounds like a cool bike. Yeah the triple trees are done now :D , here's a picture of the conversion; the bottom, inside diameter of the steel XS650 stem gets threaded and fit with a custom stainless sleeve that then goes into the lower aluminum triple tree of the RMZ. The stem is then attached with a large Allen head bolt. Wish your method could have worked for me :bike:

full


full
 
I like the way that you were able to do the triples. Can't wait to see the bike up and rolling... Might also have to borrow the idea of those Ducati bars, I like the flow of them.
 
Thanks Norman - hope to have a roller by end of the year. Doing final prep on the frame for powder coating. Maybe Santa brings me tires and a Warp 9 front rim:bike:

It'll be a fun winter project - starting to see it!!
 

Attachments

  • image.jpg
    image.jpg
    104.1 KB · Views: 214
Some of you have probably done it this way, but I'm stoked with the way that this tail light / fender modification came out. It uses the stock fender and liscence plate light hardware. Cut down the fender, add new mount tabs then replace the stock liscence plate light with a Lucas style LED tail light/plate light. The LED tail light fits perfectly on the stock stanchion.

The mounting bolts on the LED Dime City light were an exact match with the stock holes on the stanchion at 3 1/4 inch on center. I was Even able to use the same rubber stock gasket which was in great shape, just trimmed down some extra rubber after removing the stock bulbs (and reused the old rusty cap nuts too - fitting my resto-rat-rod-mod aesthetic :D). The fender mod is now complete using about 90% stock parts if I had to guess.


full


full


full


full
 
Used a baby sledge hammer and socket with extension to pound out the swing arm sleeve. Thanks to the info on the forum, also used the hacksaw blade method to remove the old bushings. Next up is sand blasting and powder coat finally. One step closer to a roller!
 

Attachments

  • image.jpg
    image.jpg
    247.7 KB · Views: 166
Been plugging away at my project. As an update I bit the bullet on a TX750 wheel and hubset, plus a TX750 swing arm. We went from crusty to shiny on the hub with a lot of elbow grease and polishing. I actually put another 4 hours into polishing after the pics shown here using wet sanding 320/600/1500 grit. Dico wheels rule. Couldn't help myself.:thumbsup:

full


full


full


full


full
 
I like what you did for the rear fender I might steal that idea. I like the direction of your build. I'm doing something similar.
 
I like what you did for the rear fender I might steal that idea. I like the direction of your build. I'm doing something similar.

Thanks Bergoff. I added another tab on the back hoop For extra support. I used a few rubber washers too for vibration dampening.

Also, removed the ratty chrome with 80 then 240 grit Dico wheels and hit it with clear coat wheel bomb. Getting there! Dropped the frame and parts off for stripping and paint yesterday, finishing the wheels this week then putting some Shinkos on I think. May actually have a roller by EOM :)
 

Attachments

  • image.jpg
    image.jpg
    179.6 KB · Views: 204
REAR WHEEL SET: 1973 TX 750 hub, a 3.5 x 17" Supermoto rim from Warp 9, and spokes from Buchanan's. New FERODO brake shoes from Mercury Mike Morse. Yes he is a good dude to talk to - so if you want to cut through the crap of deciding what part you need for whatever it is you're working on give him a call.

Warp 9 Supermoto 3.5x17" front wheel rim, hub, spokes and rotor all from Warp 9 for the 2004 RMZ250 front end.

Since only the TX750 rear hub was used, the original TX750 18" rim and spokes are left over.

I was able to carefully remove the whole set of 36 TX750 spokes and nipples from the original 1973 rear wheel by using 3 in 1 oil to soak the nipples for a couple of weeks to penetrate the rust, and then a large flat head screw driver to unscrew the nipples from the spokes.

Ryan at RT 25 Powersports ordered the tires today, and they'll be at his shop tomorrow for mounting and balancing. And he matched the online price no problem. The frame should be back in a week or so from powder coating, then slug it all together for a roller and make a run at having it operational this spring - more likely this summer! :bike: .

full


full
 
Hey JayR project looks cool, like the rear mudguard mount, really nice seeing some alternative ways of doing it. Ill might copy that for my next build ;)
 
Thanks brassneck and vsop-dk. Yes 17" Supermoto rims front and rear with Shinko dual sport tires. The tires arrived today so I'll post some more pics when they're mounted. Waiting on the frame to get back from powder coating too.
 
New Shinko dual sports front and rear: 130/90/17

Now just need a few parts in between :laugh:
 

Attachments

  • image.jpg
    image.jpg
    159.8 KB · Views: 250
Back
Top