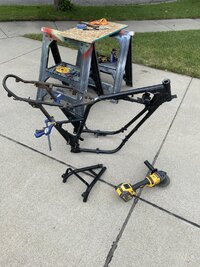
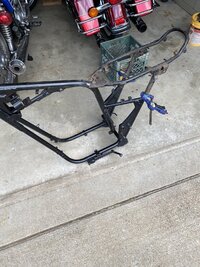
Project Bobber X2.2 the rework.

Wingedwheel

If it wasn’t broke before, let me try it…
Top Contributor
Messages
2,614
Reaction score
5,519
Points
513
Location
Waterford, MI
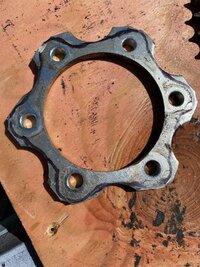
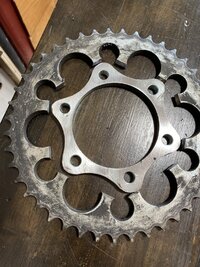
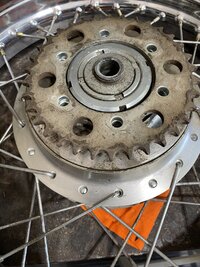
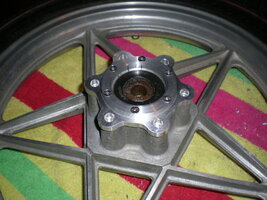
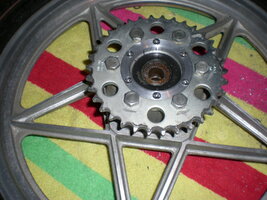
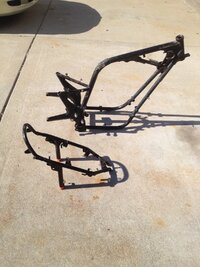
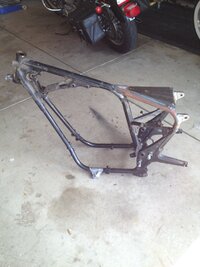
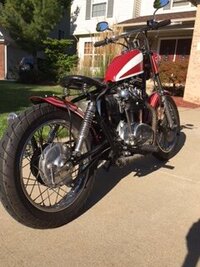
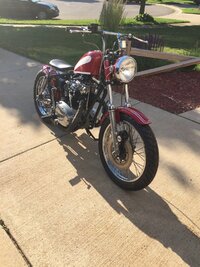
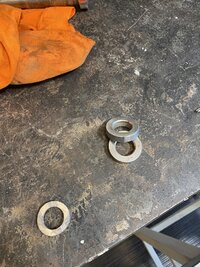
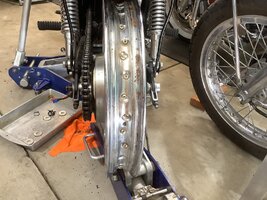
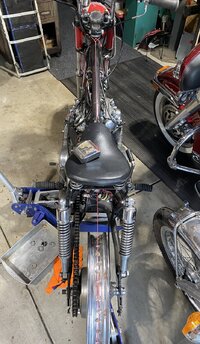
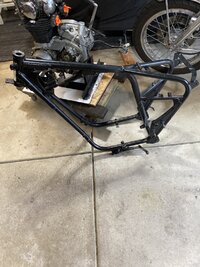
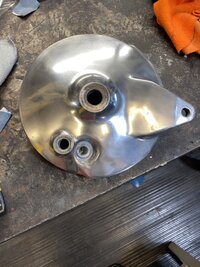
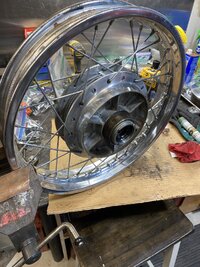
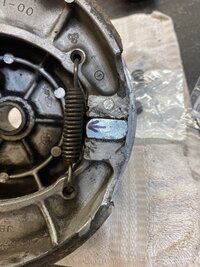
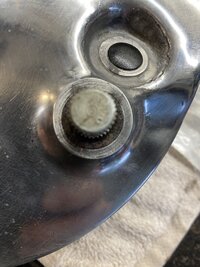
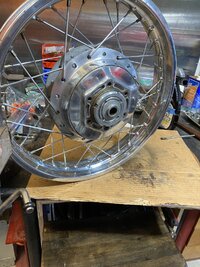
I have mentioned I am going to rework my Bobber. It was a mistake to Brat-tail the frame. I’m too tall and I just wasn’t happy with the outcome. I built it about 10 yrs ago(there’s a thread here somewhere) and it runs and rides phenomenal but I’ve come to realize my chopper/bobber days are behind me. I have several things to work on while I’m getting ready and instead of spreading things out in several threads I’ll just begin here. First thing I’m working on due to needing the rear wheel for the new X2 is setting up a Cush wheel I have for the bobber. I’m following instructions from 5Twins from when he used one. First order was making a spacer out of the old TX500 43T sprocket. The wheel cleaned up really well and I just need to sit down and detail it. IMG_6567.jpegIMG_6573.jpegIMG_6574.jpegIMG_6575.jpeg
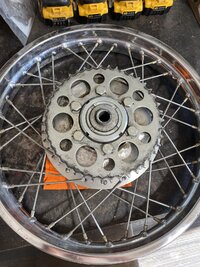
 
Your spacer looks great.:thumbsup: I was faced with the same thing when I converted a 500 pentagram rear wheel to fit a XS650. A friend made a CAD drawing and machined one from aluminum. I also made a center ring to hold the sprocket in place.
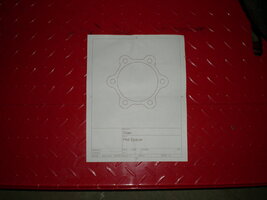
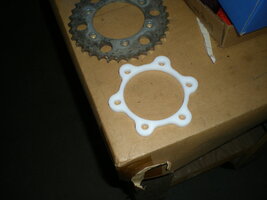
Spacer 006.JPGSpacer 004.JPGsprocket adaptor 002.JPGsprocket adaptor 004.JPG
 
I’ll also need to make a couple more spacers. 5T used the larger sprocket for those also but I think the early swingarm is narrower. Perhaps one of the “spec”techs can chime in on that plus I believe I need slightly longer bolts.
 
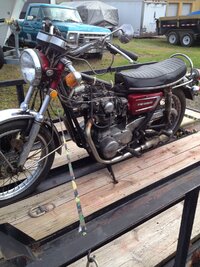
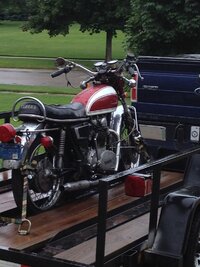
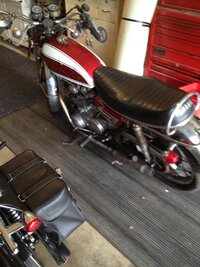
OK a little history. I bought the original bike from the second owner. The first owner was the guys Grandfather. The kid rode the crap out of the bike and when it quit he let it sit. I bought it back in “13 I believe for $550. My intent was to build a modified bike similar to a hardtail without actually being a hardtail. Lol. I had a CB750 chopper before and the engine was way too wide and was killer using forward controls. I remembered a buddy that had anXS650 and I liked the idea of the narrower engine. The bike I purchased needed a total gut Everything on the bike was dented, rusty, bent or abused and being a novice to the XS2 I really didn’t know what I had and began sell g off parts to finance the build.
”WARNING” A few of the following pics may cause mild nausea in certain purists. Pics are from when I brought her home, the transformation and what she looks like now.xs650-1.jpegXS2original1.jpegXS20riginal.jpegframecut1.jpegBratcopy.jpegfiishedbobber9.jpegfinishedbobber1.jpeg
Member KSHansen was kind enough to hook me up with the frame section I need to reverse the mistake. The plan is to pull her apart, replace the frame section, rewire the complete bike as I’m not happy with the job I did there either. Reinstall the starter and gears because I went to a small battery and made it kick only and as I go through it upgrade components. It will never be an XS2 again so XS2.2 will suffice.
 
Last edited:
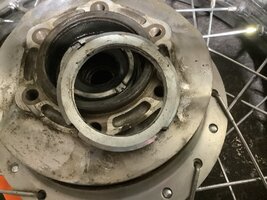
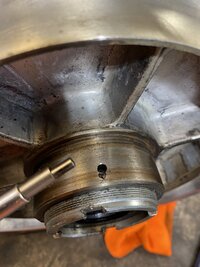
It would appear I have the early wheel which had a design change mid year due to the difficulty for the average bike owner to not be able to service. The supplemental bulletin to the manual even goes as far to say that a machine shop might be needed. After soaking, much heat and changing hammer size I got the retaining collar nut loose. image.jpg
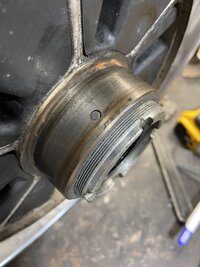
There is a pin that has to be drilled out to get the treaded collar out to change the wheel bearing.IMG_6578.jpeg
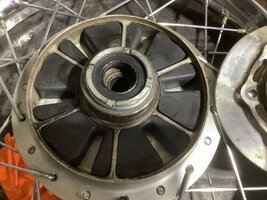
Rubber looks good! Perhaps a little silicon grease upon reinstall.image.jpg
 
Well congrats on getting that thing apart, lol. It looks like that center post that the cush hub fits on at least still had some lube on it. Not like mine, it was all dried out and rusty, lol .....

Before2.jpg


Yes, I greased up the rubber pucks with some silicone rubber grease.
 
I mocked up the wheel on the bike to check spacer alignment and pretty much sighted down the chain until it looked the best. It appears the spacers needed are 7mm. I was able to slice a couple out of the TX axle spacer. The TX axle was about 1/4” shorter but I’m pretty sure in a pinch it could be used.IMG_6582.jpegIMG_2502.jpegIMG_6583.jpeg
 
I used 8mm spacers on mine (made from the same sprocket as the big spacer for the sprocket). I suppose you'll find out when you tighten the axle nut down. If it ends up too far in, past the cotter pin hole, then you may need 8mm spacers too.
 
I believe it measured out at just under 5/16 thick so I guess it is closer to 8mm. In any case I have no gaps, wheel is centered on the frame and no kinks sighting down the chain, so I’ll take this as a win….
 
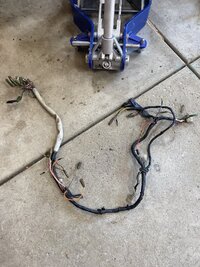
After some deliberation with myself about the wiring I decided to try a stock harness vs building another custom. I have the TC bros chopper harness for the charge/ignition but had to build my own lighting and power. My thoughts are that by the time I buy all the colored wire that I need for a new harness I can just buy one. I picked one up off EBay for $25. I will probably replace the PVC and possibly the wrap but if it doesn’t work at least I have all the wire colors and connectors I’m going to need.
 
Harness and wheel bearings showed up today so I guess I better get back to work. Harness was actually not bad at all other than a little dirty but that was expected. Vinyl is amazingly soft and tape isn’IMG_6591.jpegt too bad but I’m going to re-wrap it anyway. I see several types of harness tape but curious what success and what type others have used?
 
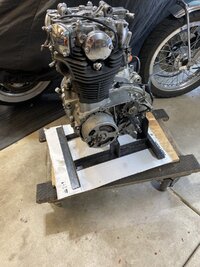
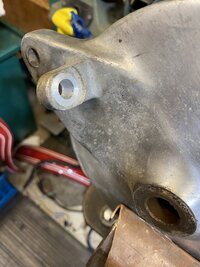
Been working on things a little each day while taking care of family and household duties and mosquitos are a plague on humanity here but otherwise had a good day today. I tried to take something off the bike everyday and was able to finish up and pull the engine today. I forgot the little extra “shoe-hornin” you have to do with the pre 74 bikes. Frame is ready to take a sawzall and grinder to it. 71590210555__245A3677-7D05-49D1-A732-4FD5EF168245.jpeg71590213126__E96DC3DA-9634-4F98-80BF-7C950BA60E28.jpegI needed to remove the threaded bearing keeper to change the wheel bearing but according to the manual you need a tungsten-carbide bit to drill that out so that’s why the change to a more owner friendly set-up. I was a little concerned about that because that’s not something I would have. I wanted to see how deep the pin was set so I used a punch and tapped the keeper each way to see if maybe I could get that pin to ride up. I could actually see it moving as I tapped so I went back and forth a few times, put a magnet on it and yea! I can swap my bearings and put the wheel back together.IMG_6615.jpeg I also ran across an older thread where gggGary posted a couple pics where he removed the bracket for the brake lining wear switch, followed his direction and it came out niceIMG_6611.jpegIMG_6612.jpeg
 
Getting anything done outside right now is brutal due to clouds of marauding mosquitos. They literally swarm anyone brave enough to go outside. Fortunately I have ceiling fans in the garage and a blower fan that I can use to keep the air moving and they can’t get me! Lol I couldn’t for the life of me get the inner spacer to move over enough to get a good whack on a bearing to drive it out so I had to drive the bushing out of the larger bearing and use that and the spacer to pop the other bearing out. Once that came out getting the opposite side out was a breeze drove the new bearings and seals, silicone greased the dampers, put everything back together, staked the threads and cleaned it up. IMG_6618.jpegI had ordered new brake shoes thinking the stock ones were kinda worn but then I saw the spec in the manual and they were fine so I just put the new ones on the shelf. I had marked the camshaft with an arrow to the inside but when going back together the more gradual ramp appeared to be in the wrong direction so I checked for a dimple and sure enough it as installed in the wrong direction from the factory as the doner bike had low miles.IMG_6617.jpegIMG_6616.jpegTomorrow my new sprocket will be here and I’ll have to get longer bolts. I can probably get those at my local hardware. I have to also pick up a rubber rim strip and mount my tire. I bought new tires and tubes but forgot about the rim strip……..IMG_6619.jpeg
 
new parts showed and I wanted to install the tire sprocket and set the wheel aside. I needed longer bolts so up to the hardware store and picked up 5mm longer bolts. They were a 10x1.25 and I took an original with me just to make sure. Went to install the sprocket and last two bolts don’t want to go in. Switched a couple around and the problem wasn’t the hub, two of the six bolts were a 1.50 thread so back up to the hardware to exchange. Luckily it’s close. Took out the grinder today as well because it’s time to get this back together the right way. I cut off the brat tail leaving just a bit so I could grind down to where I needed to be. No sense in trying to get too close with a cutting wheel because that never turns out good for me..🫣 I then cut the new frame section the same way, walking my grinds into the profile I needed. I still have just a fuzz of fitting to do and set a couple tack welds so I can go get this frame welded with a 220v machine.IMG_6622.jpeg71624214232__CDFF5472-F0C9-48C7-9149-420124A50230.jpeg
 
Back
Top