Follow along with the video below to see how to install our site as a web app on your home screen.
Note: This feature may not be available in some browsers.
Enjoy XS650.com?Consider making a donation to help support the site. XS650.com receives a small share of sales from some links on this page, but direct donations have a much greater impact on keeping this site going.
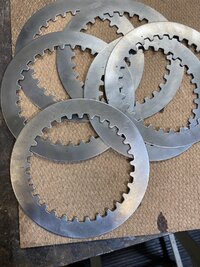
Clutch plates came in and had a like new finish on them so ready to go. I quick check with a caliper and in they went.
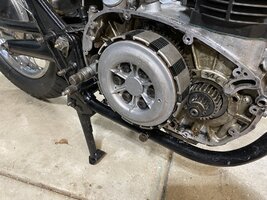
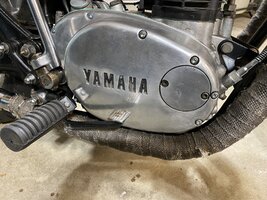
It wasn’t easy but I squeezed the lever and rotated the back tire and could see the clutch working as it should so sat on the bike and tested the friction zone which I feel has a big improvement. I had some new Allen bolts for the cover that for some reason never got installed so I replaced the old dingy bolts with nice shiny ones. If it ever stops snowing maybe I can see how it acts on the street….
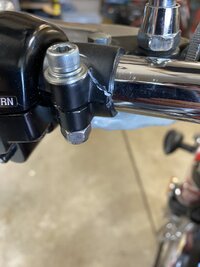
Well it’s sunny and 43 with dry streets so I gave it a try. It works amazing and my friction zone is how it should be now compared to the old clutch. When I pulled it out, everything was well in spec but it still wouldn’t grab until the very end so I’ll just assume that 52yo clutches need to be replaced. I was also adjusting the clutch perch because the pull is different now. It’s not a hard pull but with the new stiffer springs I wanted a straighter pull. Well as I was tightening up the fastener it felt like my ratchet slipped. Upon further inspection I found that the perch had cracked. Luckily I have another, I just need to paint it and try and sneak it into the house so it can dry lol
It may have been, I did the original build so long ago but I was noting how nice the finish was on it and also how thin the casting was compared to the OEM one I replaced it with so I’m gonna say more than likely.
All I do to stop the centerstand from "clanging" on the muffler is slip a piece of heater hose on the tang. Simple and it works well. Being so far back from the engine, the muffler doesn't get hot enough to melt the hose .....