650leather
XS650 Member
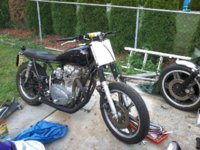
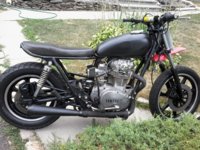
EDIT: before/after . More pic 2nd page
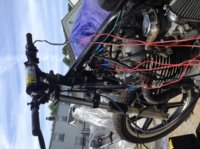
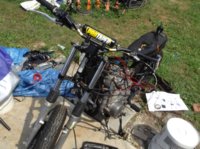
So in my profile you can see the bike before . It had up to this point brat style seat, Boyer ignition, Hugh's PMA and kickstart with 8 cell ballistic. The battery melted out and exploded and found I maulted some wire connections while re dueing the battery. Decided fucc the battery I'll put that money to a new Pamco. That turned into me deciding to redue all the wiring, install a new style diagram from kick only with capacitor. All waterproof connections, 14 and 16 g wires, relocate the rectifier , new fuse box, and e-advance under the seat away from any heat . I Also decided to buy some Pro taper dirt bike bars , new front break, steal braided rear brake line and a mini LED high output headlight so I can have a clean number plate front end . Here's some pics so far of rough fitting bars number plate and headlight
So in my profile you can see the bike before . It had up to this point brat style seat, Boyer ignition, Hugh's PMA and kickstart with 8 cell ballistic. The battery melted out and exploded and found I maulted some wire connections while re dueing the battery. Decided fucc the battery I'll put that money to a new Pamco. That turned into me deciding to redue all the wiring, install a new style diagram from kick only with capacitor. All waterproof connections, 14 and 16 g wires, relocate the rectifier , new fuse box, and e-advance under the seat away from any heat . I Also decided to buy some Pro taper dirt bike bars , new front break, steal braided rear brake line and a mini LED high output headlight so I can have a clean number plate front end . Here's some pics so far of rough fitting bars number plate and headlight
Attachments
Last edited:

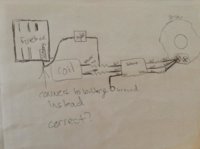


 this is why im guessing???