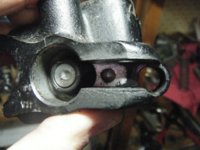
littlebill31
Smells of Raw Fuel
This will cover the procedure for rebuilding the front brake master cylinder (m/c).
All 3 types will be covered.
There are 3 stock types of front brake master cylinders on the XS650.
The original Round Cover:
insert round assembled here
The "Standard", which has no angle, straight body:
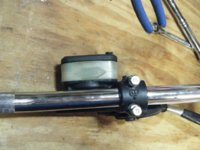
And the "Special", which has an angled body to "clear" the Buckhorn handlebars:
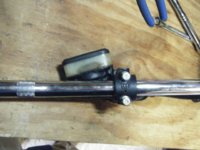
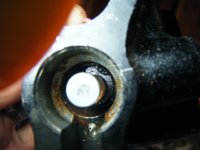
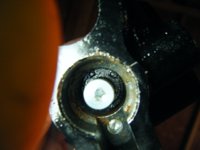
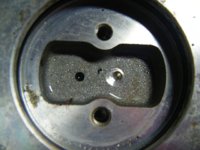
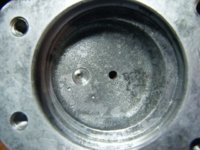
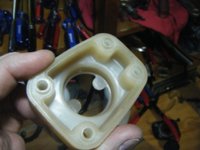
The inside of the reservoir on all 3 types are also different:
Round Type:

The "Standard":
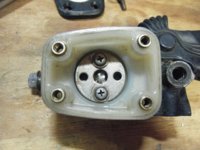
The "Special":
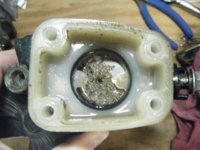
NOTE: Brake fluid is a dangerous substance. DO NOT let it come into contact with painted surfaces. Immediately clean up any spill and wash hands thoroughly. Keeping a "more than normal" clean area when working with brake parts is very important!
Makes sure you read this in it's entirety and thoroughly before beginning.
To begin, First drain the system using the bleeder nipple on the front brake caliper. Refer to the Bleeding Brakes How-To if you are unaware of the proper procedures to do this. Drain as much fluid out as possible to reduce spillage from the reservoir.
Using the center stand or leveling the bike is a good idea when doing any maintenance.
Open the top cover of the master cylinder after draining the fluid. Put the cover, diaphragm, and diaphragm bushing in a safe place for later inspection/cleaning.
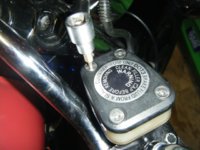
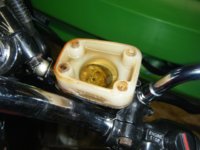
You can use a rag to "sop" up the remaining fluid. Do not get this fluid on any painted surfaces.
Disconnect the brake line from the m/c. Remove the banjo bolt and 2 washers.
[insert picture]
Remove the 2 10mm bolts from the m/c clamp and remove the m/c from the machine.
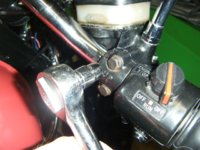
NOTE:An above average cleaning area is needed for any types of brake repair.
Turn the reservoir 90 degrees to prepare for removal.
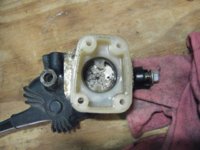
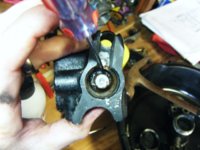
Using a thin instrument, CAREFULLY raise one corner of the reservoir from the m/c body. There is a large O-ring that the reservoir must be separated from.
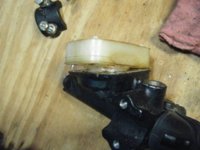
Work your way around the reservoir to loosen and raise it.
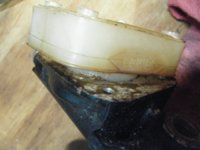
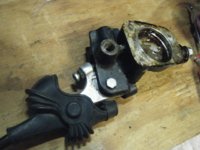
Then you can "pop" the reservoir off of the m/c body.
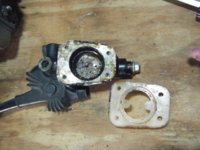
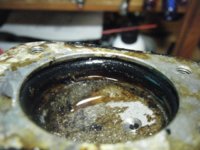
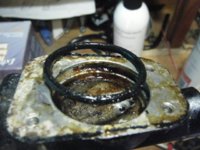
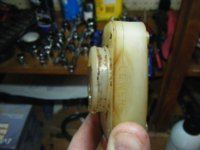
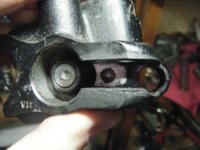
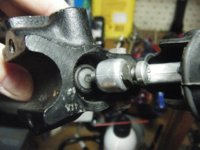
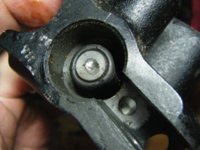
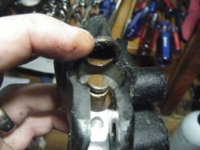
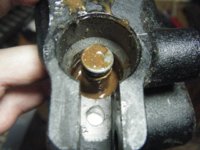
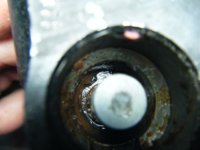
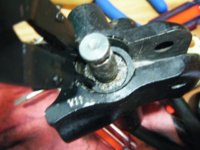
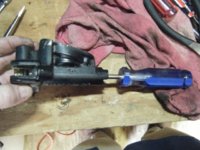
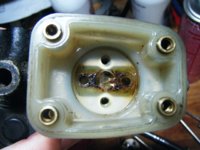
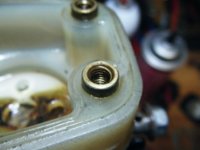
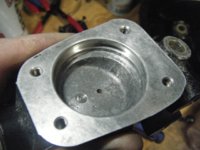
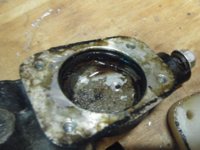
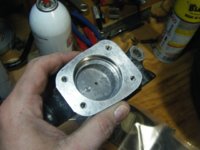
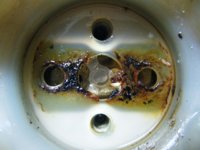
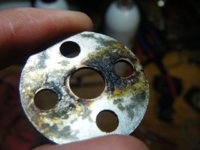
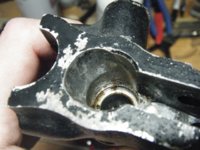
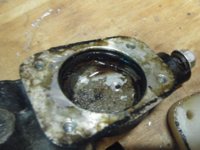
You can now inspect the inside of the m/c body and large O-ring. Notice the hardened brake fluid and grime that has collected between the reservoir and m/c body.
All 3 types will be covered.
There are 3 stock types of front brake master cylinders on the XS650.
The original Round Cover:
insert round assembled here
The "Standard", which has no angle, straight body:

And the "Special", which has an angled body to "clear" the Buckhorn handlebars:

The inside of the reservoir on all 3 types are also different:
Round Type:

The "Standard":

The "Special":

NOTE: Brake fluid is a dangerous substance. DO NOT let it come into contact with painted surfaces. Immediately clean up any spill and wash hands thoroughly. Keeping a "more than normal" clean area when working with brake parts is very important!
Makes sure you read this in it's entirety and thoroughly before beginning.
To begin, First drain the system using the bleeder nipple on the front brake caliper. Refer to the Bleeding Brakes How-To if you are unaware of the proper procedures to do this. Drain as much fluid out as possible to reduce spillage from the reservoir.
Using the center stand or leveling the bike is a good idea when doing any maintenance.
Open the top cover of the master cylinder after draining the fluid. Put the cover, diaphragm, and diaphragm bushing in a safe place for later inspection/cleaning.


You can use a rag to "sop" up the remaining fluid. Do not get this fluid on any painted surfaces.
Disconnect the brake line from the m/c. Remove the banjo bolt and 2 washers.
[insert picture]
Remove the 2 10mm bolts from the m/c clamp and remove the m/c from the machine.

NOTE:An above average cleaning area is needed for any types of brake repair.
Turn the reservoir 90 degrees to prepare for removal.

Using a thin instrument, CAREFULLY raise one corner of the reservoir from the m/c body. There is a large O-ring that the reservoir must be separated from.

Work your way around the reservoir to loosen and raise it.

Then you can "pop" the reservoir off of the m/c body.

You can now inspect the inside of the m/c body and large O-ring. Notice the hardened brake fluid and grime that has collected between the reservoir and m/c body.


