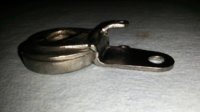
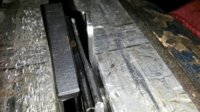
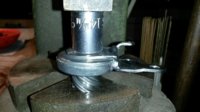
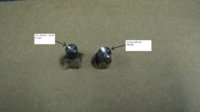
Pic #1 - The worm parts are splined, so they're lined-up as they were originally, and pressed back together.
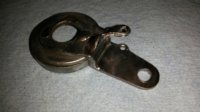
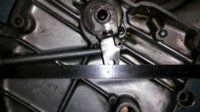
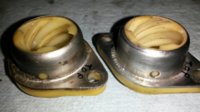
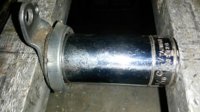
Pic #2 - Then the worm nylon base is fitted to the freshly resurfaced case cover, and the arm/worm assembly is fitted to the nylon worm base.
Now comes the tricky part, the optimum position of the worm arm. We want the worm seated as deeply as possible in the full cable relaxed position, so that full worm travel makes use of all available engagement surfaces, and minimize the 'tipping' torque. We also want the max leverage advantage to occur near the end of cable travel. So we'll find this max leverage point, and work backwards from there.
The edge of the hole in the casecover where the cable emerges into the cavity is a good reference point, so all measurements here will be taken from that point, to the center of the worm arm clevis hole. Pic #2 shows that this fully seated worm arm clevis hole position is 4.5".
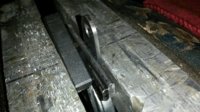
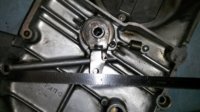
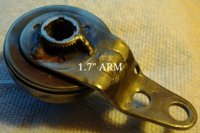
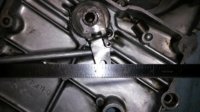
Pic #3 - The max leverage point is where the cable termination is at a right angle to the worm center. This point is at 3.7", with an arm length (worm center to clevis hole center) of 1.7". On earlier worms, the arm length is shorter, about 1.3", and the max leverage point is further out, at 3.8".
For this project, we'll use 3.7" as the target max leverage point. Would also like this point to occur at around 80% of handlebar clutch lever travel. The max cable travel is almost 0.65". Accounting for lever slack, stretch, and lost movement, we'll use 0.6" as the max cable travel value. 80% of that 0.6" is about 0.5", and that is where we want the max leverage point.
So, moving backwards by adding 0.5" to the 3.7" position gives us a location of 4.2", which is the ideal starting position. We'll add 0.1" to this to ensure that the worm is off the seating position, which gives us the dry-assembly fully seated position of 4.3". Pic #2's starting position is 4.5", and will need to be adjusted. There's 43 splines on the worm shaft, and with a 4-start worm thread there's plenty of ways to get the ideal position.
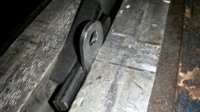
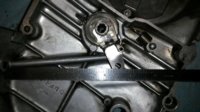
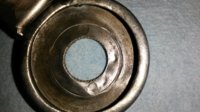
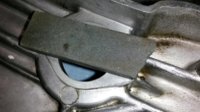
Pic #4 - Here's the wrinkle in this plan. The XS clutch cable is TOO SHORT to reach this ideal starting point. With the cable adjuster all the way in, all slack removed, the max reach for the cable puts the clevis hole at 4.1". (I have 3 clutch cables: factory, Mikesxs, and another source. They all have this shortcoming).
This is not a total catastrophe. It puts the max leverage point at about 67% of travel. Might try making a slightly longer clevis, but will save that for another day.


 problems invariably seem to come down to poor tolerances or quality control in manufacturing.